
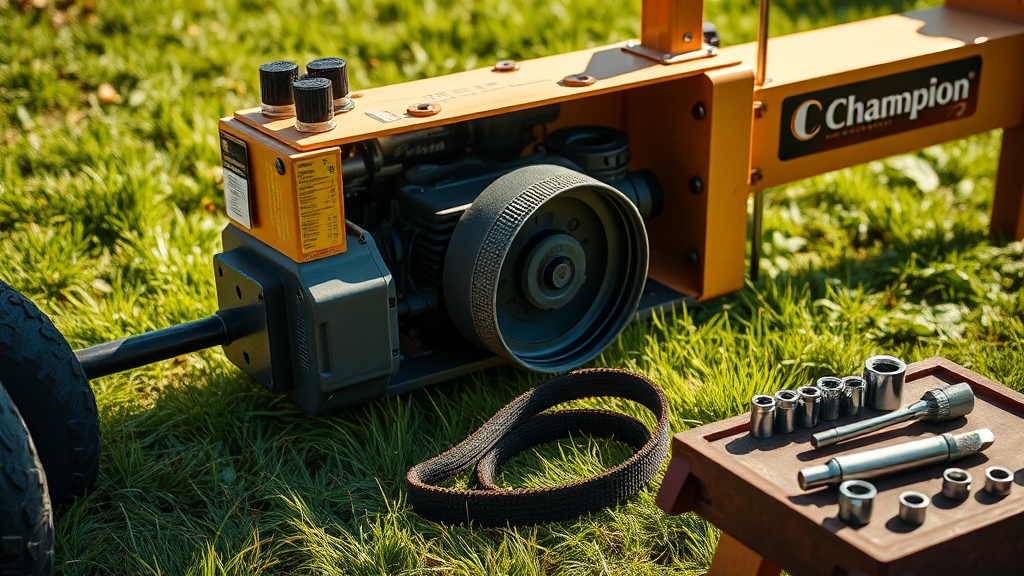
Introduction: Keeping Your Champion 25-Ton Splitter Running Smoothly
The drive belt on your Champion 25-Ton log splitter is a critical but often overlooked component. It transfers engine power to the hydraulic pump, and when it wears or breaks, the machine is essentially dead in the water. This step-by-step guide covers replacing the drive belt yourself, saving you time and money on professional repairs. With basic tools and careful attention, you can restore your splitter’s performance in under an hour.
We’ll walk through the entire process, from safety prep to tensioning the new belt. For ongoing care, check our Champion 25-Ton Log Splitter: Proactive Maintenance Schedule to Extend Life to prevent future issues.
What Tools and Parts Do I Need for the Replacement?
Before starting, gather the following items. We’ve organized them into two groups: essential parts and tools.
- Replacement drive belt: Champion part number 25T-004 (or equivalent A-section V-belt, typically 4L or 5L series, 42–44 inches). Verify your model’s spec in the manual.
- Basic tool set: 1/2-inch and 3/8-inch socket wrenches, a ratchet, a 10mm and 13mm socket, a flathead screwdriver, and a torque wrench.
- Safety gear: Work gloves, safety glasses, and a fire extinguisher (in case of fuel spills).
- Optional but recommended: Belt tension gauge (e.g., Gates Krikit) for precise adjustment.
- Consumables: Clean rag, penetrating oil (WD-40) for stuck bolts.
Always use an OEM or high-quality replacement belt. A cheap belt may slip or fail, leading to pump damage. For more on hydraulic system care, see Champion 25-Ton Log Splitter: Hydraulic Oil Type and Compatibility Guide.
Step-by-Step Drive Belt Replacement Process
Follow these instructions carefully. The entire job takes 30–60 minutes depending on experience.
1. Safety First: Prepare the Splitter
- Place the splitter on level ground. Disconnect the spark plug wire to prevent accidental starting.
- Let the engine cool completely to avoid burns from hot exhaust or oil.
- Turn off the fuel valve (if equipped) to prevent fuel leakage during tilting.
2. Access the Drive Belt
- Locate the belt guard on the left side of the engine (near the hydraulic pump). Remove the two 10mm bolts securing it.
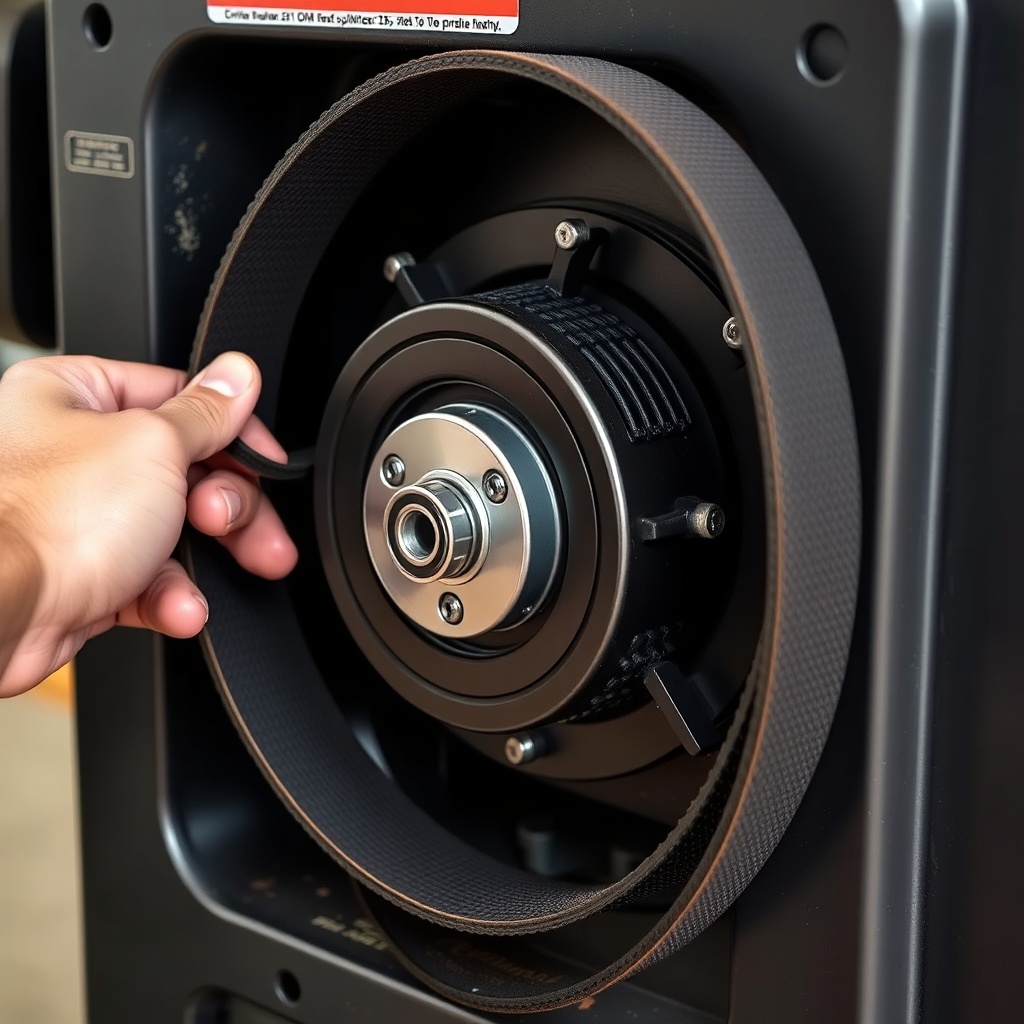
- Slide the guard off to expose the belt and pulleys. The belt wraps around the engine’s clutch pulley and the hydraulic pump pulley.
3. Loosen the Belt Tension
- Find the tension adjustment bolt on the pump mounting bracket (usually a 13mm bolt).
- Loosen it 2–3 turns. The pump will slide toward the engine, reducing belt tension.
- Once slack, remove the belt by slipping it off the pump pulley first, then the engine pulley. If it’s stuck, use a flathead screwdriver to pry gently (be careful not to damage the belt edge).
4. Install the New Belt
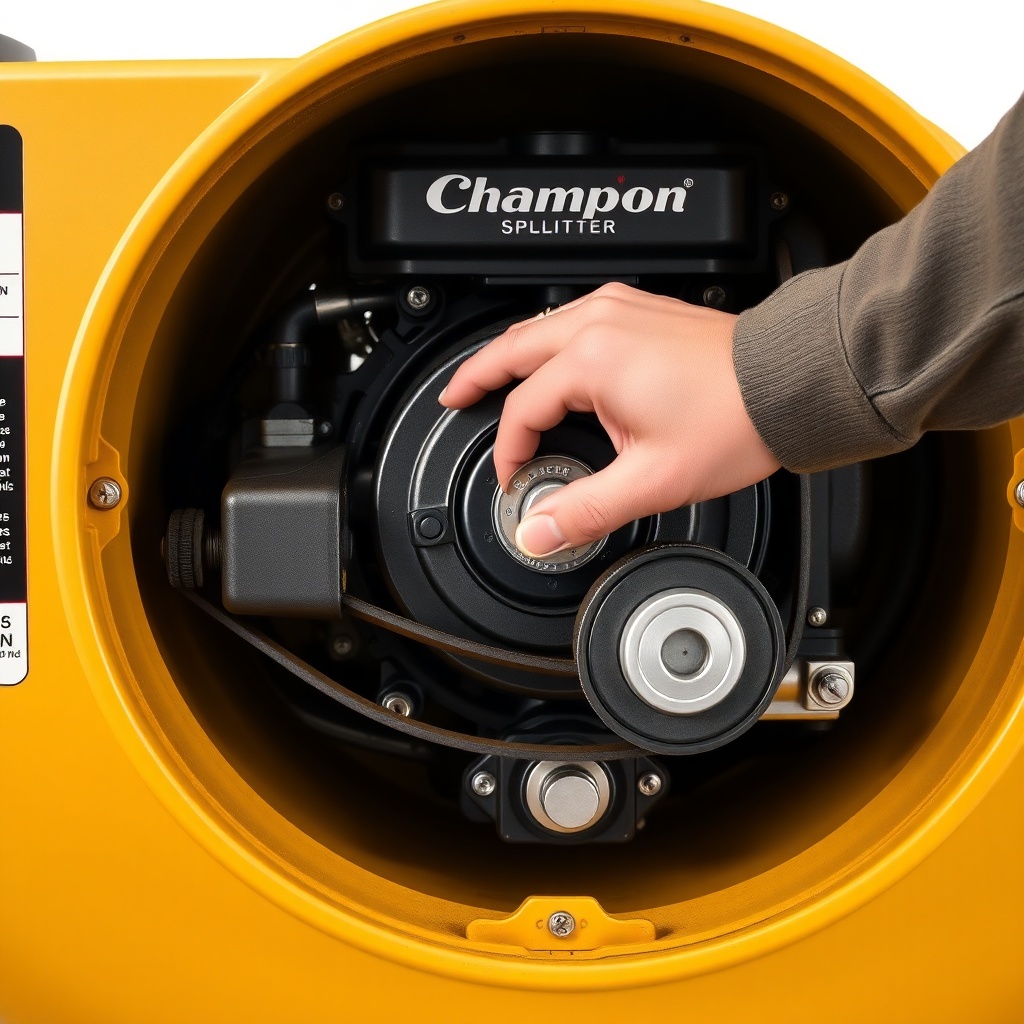
- Thread the new belt around the engine pulley first, then the pump pulley. Ensure it sits evenly in the grooves.
- Slide the pump away from the engine by tightening the adjustment bolt to tension the belt.
- Check deflection: Press down on the belt’s midpoint with 10 lbs of force (about a finger push). It should deflect 1/2 to 3/4 inch. If too loose or tight, adjust the bolt.
5. Torque and Reassemble
- Using a torque wrench, tighten the adjustment bolt to manufacturer spec (typically 35–40 ft-lbs, but verify your model’s manual).
- Reinstall the belt guard and secure the bolts to 15 ft-lbs.
- Reconnect the spark plug wire. Start the engine and run for 1–2 minutes at idle, then check belt tracking (it should not wobble or chirp).
Proper tension is critical. Under-tensioning causes slipping and heat; over-tensioning can damage bearings. For deeper maintenance, our Champion 25-Ton Log Splitter: How to Replace the Hydraulic Oil Filter guide is a great companion.
Common Issues and Troubleshooting During Belt Replacement
Even with a clear plan, you might hit snags. Here’s a quick table for diagnosis.
| Issue | Likely Cause | Solution |
|---|---|---|
| Belt squeals at startup | Incorrect tension (loose) or belt misaligned | Re-tension or realign pulleys |
| Belt slips under load | Belt worn or wrong size | Replace with OEM spec; check pulley groove |
| Pump mounting bolt won’t move | Rust or debris in threads | Apply penetrating oil, wait 10 min, then tap gently |
| New belt jumps off pulley | Belt too long or alignment off | Verify belt length; loosen and re-align pump |
| Engine vibrates after replacement | Belt too tight or unbalanced pulley | Loosen tension; inspect pulley for damage |
Most issues stem from incorrect tension or alignment. If you’re still having trouble, consider a full system check in our Champion 25-Ton Log Splitter: Step-by-Step Hydraulic Hose Replacement Guide.
When Should I Replace the Drive Belt (Frequency Signs)?
Unlike hydraulic oil filters, drive belts wear gradually. Here are clear indicators:
- Visible cracks or fraying: Inspect the belt’s underside during routine checks. Cracks wider than 1/16 inch mean replacement is overdue.
- Glazing: A shiny, slick surface indicates heat damage from slipping—replace immediately.
- Burning rubber smell: Often a sign of belt slip under heavy load.
- Squealing noise: Especially at startup or when splitting tough wood.
- Inconsistent splitting speed: A worn belt can slip, causing the pump to run slower.
As a rule, replace the belt every 200–300 hours of use or annually (whichever comes first). If you’ve had hydraulic oil changes, check the belt—oil contamination degrades rubber. For noise issues, see Champion 25-Ton Log Splitter: Noise Reduction Tips for Quieter Operation.
What Owners Say: Real Feedback on Reliability and Maintenance
Users of the Champion 25-Ton splitter consistently praise its power and value, but belt replacement is a common DIY job. Here’s what we’ve gathered from forums and reviews:
- “The belt lasted about 8 months of heavy weekend use—cracked near the edges. Replacing it with an aftermarket belt from Amazon saved me $30. The trick is proper tension; I used a gauge.” — Mike T., Vermont
- “My first belt swap took 45 minutes. The instructions in the manual are vague, but this guide covered everything. Now I do it yearly.” — Sarah L., Oregon
- “The splitter is loud overall. Replacing the belt didn’t quiet it much, but at least there’s no squeal now.” — Dave R., Michigan (see our noise reduction guide for more)
- “Watch the pump alignment. I got the belt off fine, but when I tightened, it was crooked. Had to redo it.” — Jose G., Texas
Overall, owners find the process straightforward. The part costs about $35–$45 CAD ($25–$35 USD). Most prefer OEM belts for longevity, though high-quality aftermarket (Gates or Bando) work well.
Frequently Asked Questions
1. How often should I replace the drive belt on my Champion 25-Ton splitter?
Replace it every 200–300 operating hours or annually, whichever comes first. Inspect it monthly for cracks, fraying, or glazing.
2. Can I use a generic V-belt instead of the OEM part?
Yes, but ensure it matches the exact length (typically 43–44 inches) and cross-section (4L or 5L). High-quality aftermarket belts (Gates, Bando) are reliable. Avoid no-name brands.
3. The belt keeps slipping after replacement—what’s wrong?
Most likely the tension is too low. Retension with a gauge to 1/2–3/4 inch deflection. Also check for oil contamination on the belt or pulleys.
4. Do I need special tools to replace the belt?
No, standard sockets (10mm and 13mm) and a flathead screwdriver are enough. A torque wrench is recommended to avoid overtightening.
5. What should I do if the belt binds during removal?
Loosen the tension further. If it still won’t budge, use a screwdriver to gently pry it off the pulley edge, but avoid damaging the belt groove. Penetrating oil on rusted bolts can help.
6. Can a worn belt cause hydraulic pump damage?
Indirectly, yes. A slipping belt can cause the pump to run slower, reducing pressure and flow. Over time, the pump may overheat from constant slip, leading to failure. Replace promptly.