
Champion 25-Ton Splitter: How to Adjust Hydraulic Pressure for Better Performance
When your Champion 25-ton log splitter loses its bite on tough oak or frozen hardwoods, the culprit is often insufficient hydraulic pressure. Properly tuning the system can restore splitting force and prevent costly breakdowns. This guide walks you through safe adjustment techniques, common pitfalls, and maintenance tips to keep your splitter running at peak output.
What Is the Factory Pressure Setting on a Champion 25-Ton Splitter?
Champion sets the hydraulic relief valve on their 25-ton models to open at approximately 2,500–2,600 PSI at the pump outlet. This factory spec is designed to protect the cylinder, hoses, and pump from overpressure while still delivering the rated 25 tons of splitting force. On a standard unit, that translates to about 10.5 GPM (gallons per minute) at 2,500 PSI from the 7 HP engine.
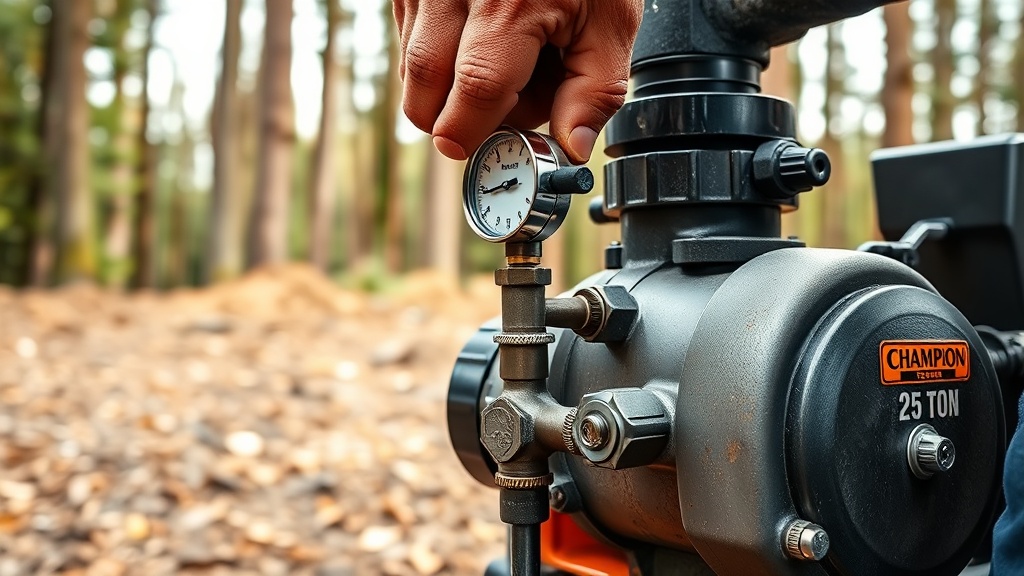
If you suspect your splitter isn’t reaching full force, start by testing pressure with a 0–5,000 PSI hydraulic gauge teed into the cylinder’s pressure line. Many owners find the gauge reads 200–400 PSI lower than spec after a season of use due to relief valve creep or pump wear. Adjusting the relief valve back to factory spec often restores peak splitting performance without the risk of damage.
Learn how to replace the hydraulic pump if pressure remains low after adjustment.
Where Is the Pressure Relief Valve Located and How Do You Adjust It?
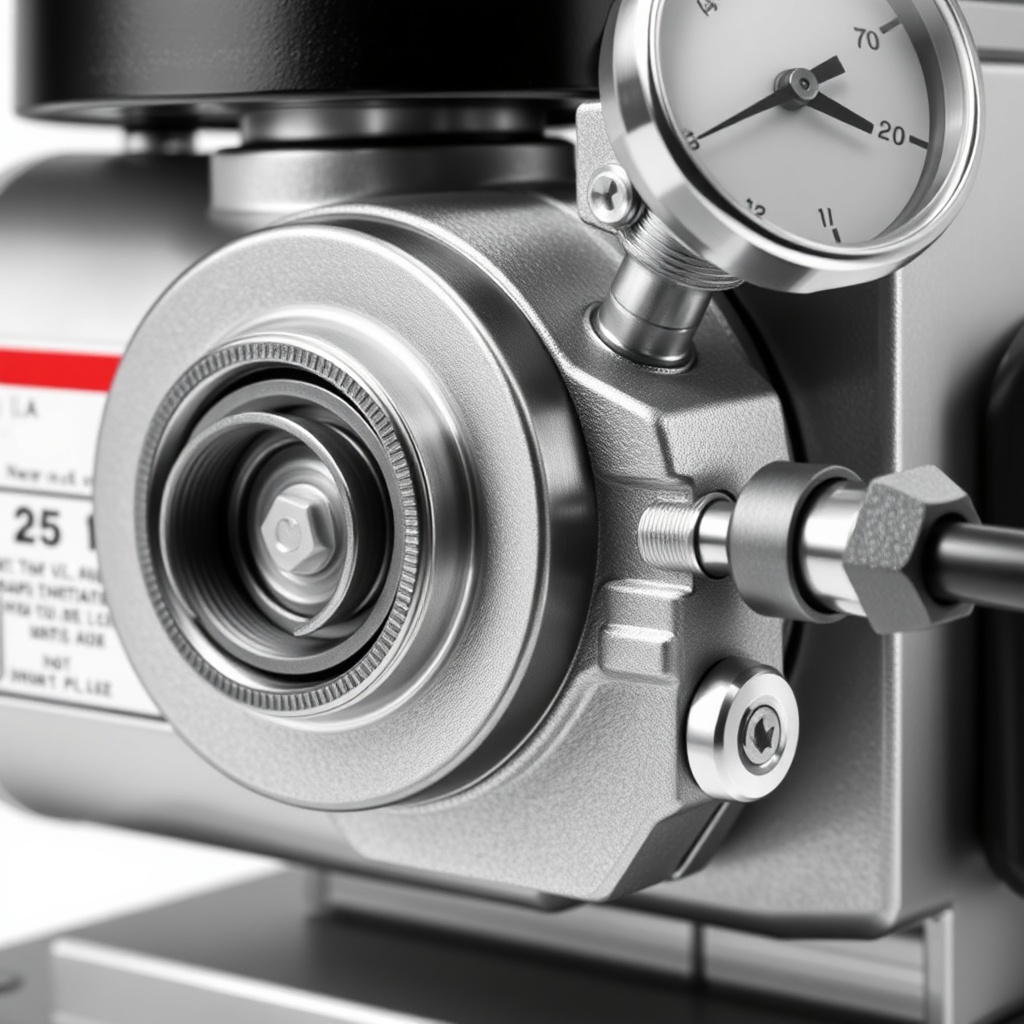
The pressure relief valve sits on the hydraulic pump or integrated valve bank, usually under a protective cap or bolt on the pump body near the control handle. On most Champion 25-ton models, look for a 5/8-inch hex head plug on the pump block. Removing this plug reveals an internal set screw that controls spring tension on the relief poppet.
- Tools needed: 5/8-inch socket or wrench, flathead screwdriver, hydraulic pressure gauge, flare nut wrench (for gauge installation), and clean shop rags.
- Safety first: Lower the splitter beam, disconnect the spark plug wire, and relieve any trapped pressure by moving the control valve to “split” with the engine off.
To adjust, turn the set screw clockwise to increase pressure (compress the spring) or counterclockwise to decrease. A quarter turn typically changes pressure by 150–200 PSI. Make small adjustments, then recheck with the gauge under a load cycle (splitting a tough log or using a closed end cap). Do not exceed the pump’s maximum rated pressure, which is engraved on the pump nameplate.
For winter operation, pressure adjustments can compensate for thicker oil. See our cold-weather starting and performance tips for seasonal pressure tuning.
What Are the Signs That Hydraulic Pressure Is Too High or Too Low?
Running your splitter at incorrect pressure degrades performance and risks component failure. The table below summarizes symptoms and severity levels.
| Condition | Pressure Reading | Common Symptoms | Severity |
|---|---|---|---|
| Too low | Below 2,200 PSI | Stalls on large oak, slow cycle times, wedge retracts sluggishly | Moderate – reduced productivity |
| Too high | Above 2,800 PSI | Hose bulging, pump whine, oil overheating (>180°F), blown seals | Critical – immediate equipment damage risk |
| Factory spec | 2,500–2,600 PSI | Clean splits, consistent cycle, oil stays under 150°F | Optimal |
If you detect high-pressure symptoms, reduce relief valve setting immediately. Low pressure often improves with a simple adjustment or by swapping to a thinner hydraulic oil in cold conditions. For knotty wood that demands extra force, a slight increase to 2,700 PSI may be safe, but only if all hoses and fittings are rated for 3,000 PSI minimum. Our expert tips for splitting knotty wood offer alternative strategies to avoid overstressing hydraulics.
How Does Hydraulic Oil Temperature Affect Pressure Adjustment?
Hydraulic oil viscosity changes drastically with temperature. Cold oil (below 40°F) is thick, which can cause the relief valve to open 200–300 PSI higher than in warm oil. Conversely, hot oil above 150°F thins and may reduce relief pressure by the same margin.
Always adjust pressure with the oil at normal operating temperature (120°F–140°F). To achieve this, run the splitter for 10–15 minutes with a few light splits before taking measurements. In winter, let the engine warm up fully; in summer, avoid heat-soaking the system by taking readings after 20 minutes of use.
Seasonal oil changes help maintain consistent pressure. For below-freezing operation, consider switching to ISO 32 or AW 32 hydraulic oil (instead of standard ISO 46) to reduce cold-start drag. This adjustment alone can restore 150–200 PSI of lost splitting force. Read more in our winter storage and antifreeze guide.
What Tools Do I Need for an Accurate Pressure Adjustment?
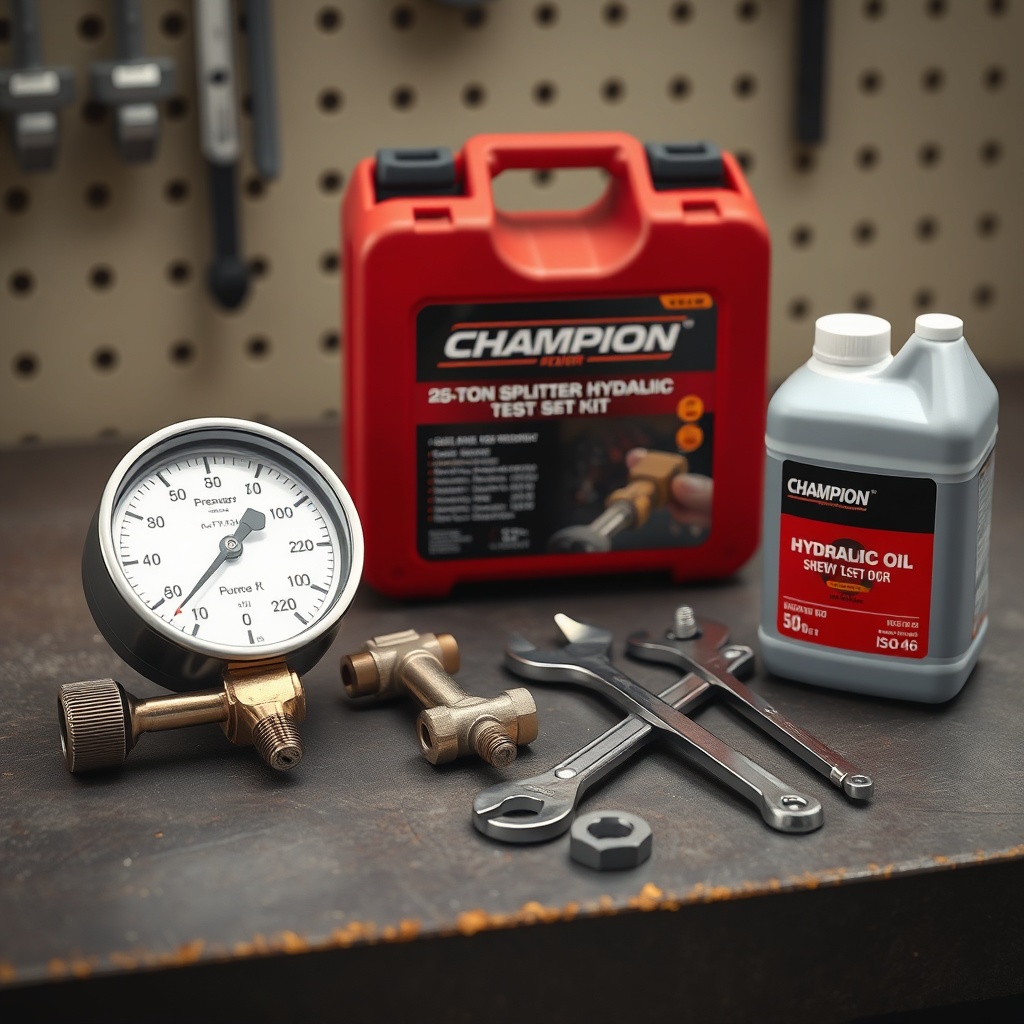
Performing a precise adjustment requires more than a wrench and guesswork. Invest in a professional hydraulic test kit with a glycerin-filled gauge (0–5,000 PSI, 1.5% accuracy) and a quick-couple tee fitting. Here is the complete list:
- Hydraulic pressure gauge (glycerin-filled, 2.5-inch dial) – approx. $30–$50 USD
- Quick-couple tee (1/4″ NPT female threads) – approx. $15 USD
- Crescent wrench set (5/8″ and 3/4″)
- Flathead screwdriver (6-inch shaft)
- Digital infrared thermometer (for oil temperature) – approx. $25 USD
- Clean hydraulic oil (ISO 46 for most climates) – approx. $12 per quart
- Shop rags and safety glasses
With these tools, you can complete the adjustment in under 30 minutes. The total investment of around $100 USD pays for itself by preventing one blown hose ($40) or pump rebuild ($200). For a full step-by-step on replacing the pump, see the DIY hydraulic pump replacement guide.
What Are the Safety Precautions for Adjusting Hydraulic Pressure?
Hydraulic systems store enormous energy. Even with the engine off, residual pressure can eject fluid at hundreds of PSI, causing serious injury. Follow these rules without exception:
- Lock out the engine: Remove the spark plug wire and secure it away from the plug. Turn the fuel valve to “off.”
- Relieve all pressure: Cycle the splitter control lever to “extend” and “retract” with the engine OFF and the ignition key removed. Wait 60 seconds for trapped pressure to bleed.
- Wear PPE: Safety glasses and heavy-duty nitrile gloves protect against oil injection injuries.
- Never exceed pump rating: The pump nameplate shows maximum pressure. Exceeding it may explode the pump housing.
- Check for leaks: After adjustment, run the splitter and inspect all fittings, hoses, and the cylinder rod for seepage. Tighten any loose fittings before use.
- Test on a tough log: Split a 12-inch diameter oak round to verify pressure under load. The cycle time should drop by 20–30% compared to before adjustment.
If you smell burning oil or hear unusual pump noise, stop immediately and reduce the relief valve setting by a half turn. These symptoms indicate cavitation or overpressure. Our spark plug replacement guide offers a complementary maintenance task: step-by-step spark plug replacement to ensure the engine runs strong during heavy splits.
What Owners Say About Adjusting Champion 25-Ton Hydraulic Pressure
Field reports from Champion splitter owners emphasize that pressure adjustment is the most impactful DIY fix. A common thread on logging forums: “My splitter struggled on gnarly elm for two seasons. I finally bought a $40 gauge and cranked it to 2,600 PSI. It now powers through anything I feed it.” Another owner noted, “I went too high to 2,800 PSI and blew a hose on the third split. Lesson learned: stay within spec.” Most owners recommend performing this adjustment annually, especially if splitting in sub-zero temperatures where oil thickens. The consensus: a half-hour investment with a gauge saves hours of frustration and extends splitter life by years.
Frequently Asked Questions
1. Can I adjust the pressure without a gauge?
No. Adjusting blindly risks overpressure and component damage. A gauge is essential to measure exact PSI and avoid blowing seals or hoses. Borrow or buy one for safe tuning.
2. How often should I check hydraulic pressure on my Champion 25-ton splitter?
Check pressure annually before the heavy splitting season and after replacing hydraulic oil, hoses, or the pump. Also inspect if you notice a sudden drop in splitting force.
3. Will increasing pressure above 2,600 PSI damage the engine?
Likely yes. The 7 HP engine is designed to run at rated pump flow. Higher pressure raises load on the crankshaft and can cause the engine to lug over time. Stay within 2,500–2,600 PSI for longevity.
4. What type of hydraulic oil should I use for pressure adjustment testing?
Use ISO 46 (AW 46) for most climates. In cold areas, ISO 32 (AW 32) is better. Always use high-quality anti-wear hydraulic oil with a viscosity index above 100.
5. Why does my splitter still lack power after adjusting pressure to spec?
Possible causes: worn pump (internal leak), stuck relief valve, damaged cylinder seals, or partially clogged suction line. Work through a systematic inspection, and consider a pump replacement if pressure remains low after tuning.
6. Can I adjust pressure while the engine is running?
Never. Always shut off the engine, relieve pressure, and remove the spark plug wire before any adjustment. Even a brief slip while the engine runs can cause severe injury from a pressurized fluid burst.